CoppeliaSim
Works with CoppeliaSim 4.9 or later through the ZMQ remote API (0.1 verified on 4.10.0).
from screws.coppelia import Scene

with Scene() as scene:                 # connects to localhost:23000 in stepping mode
    arm = scene.arm("/UR5")            # the joints under that tree, base to tip
    robot = arm.robot()                # a screws.Robot read off the scene at zero
    arm.mode("position")
    log = scene.run(lambda t, theta, dtheta: theta_desired(t), duration=5.0, arm=arm)
log.plot()                             # four stacked time plots: theta, dtheta, tau, command
log.to_csv("run.csv")
Record a movie. One frame per simulation step, so the movie plays at simulated time however slowly the controller ran:
with Scene() as scene:
    arm = scene.arm("/UR5")
    arm.mode("position")
    with scene.record_video("run.mp4", position=(1.5, -1.5, 1.0), look_at=(0, 0, 0.4)):
        scene.run(controller, duration=5.0, arm=arm)
record_video creates a camera (or reuses one: camera="/Camera"), grabs its image before
every step (every=2 halves the frame rate), and on exit writes .mp4 or .gif.
In a notebook, release the clock between cells. In stepping mode CoppeliaSim waits for
the next step(), and while it waits its window stops redrawing; after a few seconds it shows
a "ZMQ remote API server ... abort execution" banner, and clicking that kills the remote API
and strands the notebook. End a cell that stepped with scene.release(): the simulation then
runs on its own (position targets hold the arm still) and the window stays live. The next
scene.step() takes the clock back.
Read the scene's masses. arm.robot(inertias=True) reads every dynamic shape's mass and
inertia and builds the MR link frames and spatial inertias, so a model-based controller can
be run against the simulator's own numbers, and against the textbook's URDF numbers, and the
difference explained. relative_to="base" makes {s} the model's base frame.
Scene owns the connection and the clock (start, step, release, stop, time, dt,
frame, show_frame). Scene.run records every step into a Log (t, theta, dtheta,
tau, command, T_sb as arrays); Log.plot() draws one time-series axis per joint quantity
and shows the figure, Log.to_csv writes it out. Arm reads (theta, dtheta, tau, tip_frame) and commands
in one of three modes (position, velocity, torque), or teleports without physics
to animate an IK history. Arm.robot() derives M and the screw axes from the scene's
joint frames (omega is the joint's z axis, v = -omega x q).
An example: putting
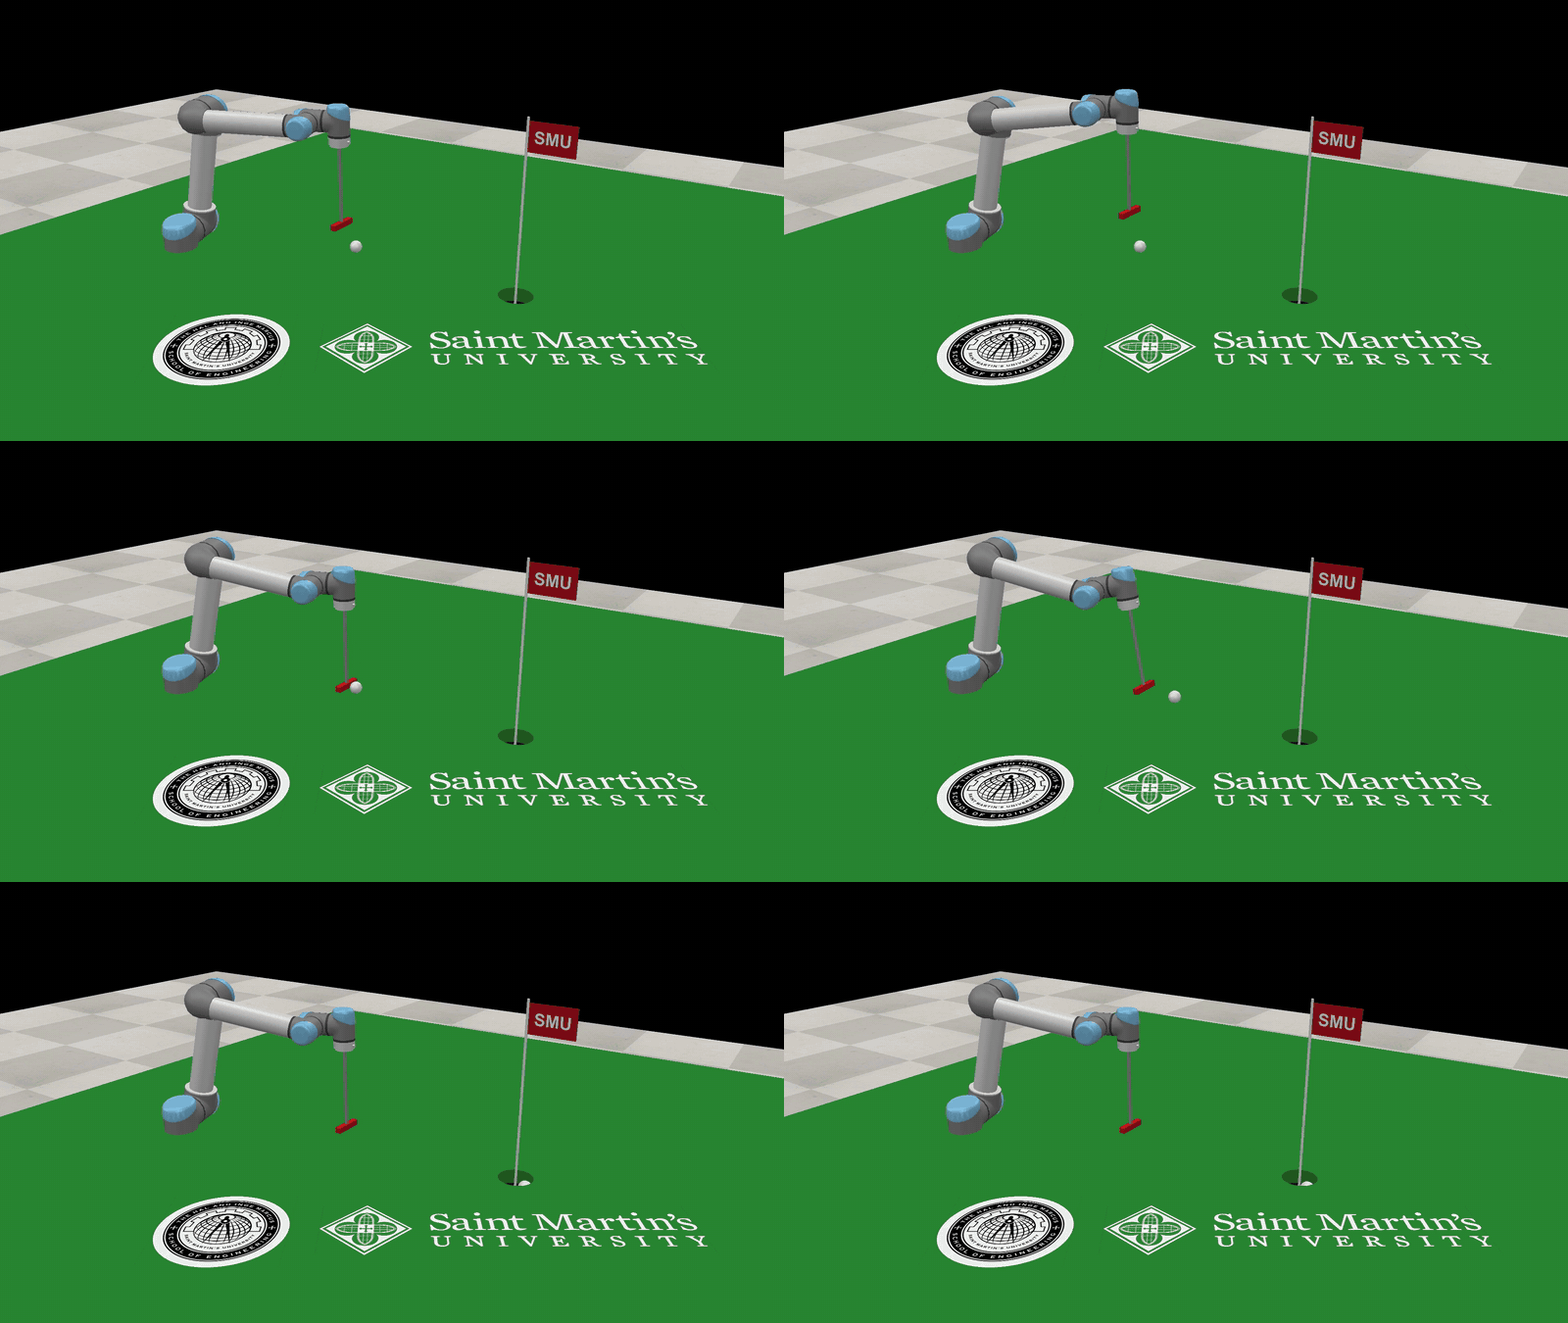
Full-resolution movie (mp4), recorded by the example itself with screws.coppelia.Recorder.
examples/putt.py builds a green in a running CoppeliaSim (turf with a real cup cut through
it, a pin and flag, a ball, and a putter on the UR5's flange), drives the arm in kinematic
mode, addresses the ball, swings the putter through it like a pendulum at a chosen face
speed, returns to the address pose, and reports whether the ball dropped. It records the
putt at 1080p and, given PNGs, lays a seal and a logo on the green and texts the flag:
uv run python examples/putt.py --video putt.mp4 --flag-text SMU --seal seal.png --logo logo.png
The pieces are in screws.coppelia.golf: build_green, attach_putter (whose .robot()
moves M from the flange to the putter face), address_pose, swing_path, putt, and the
image helpers text_image, seal_image and logo_image. Vary the speed, the hole position
or the ball's friction and see what the physics does. Two lessons the example encodes: the
stock model's demo script is removed when the bridge takes the arm (it would fight you), and
a tool that must strike repeatably runs the arm in arm.mode("kinematic").